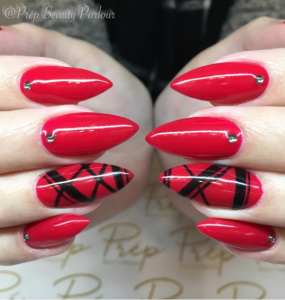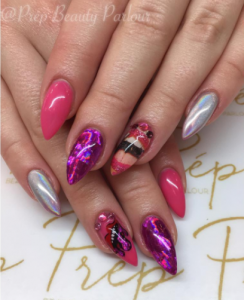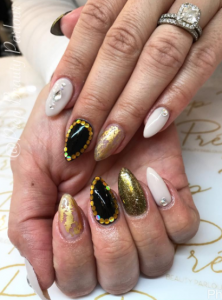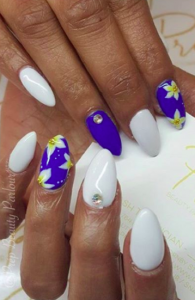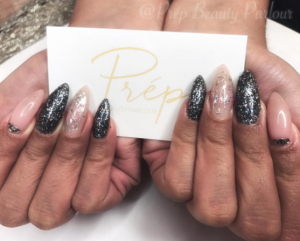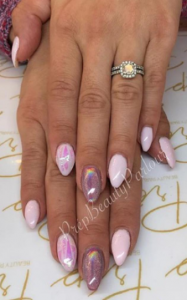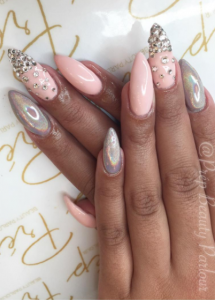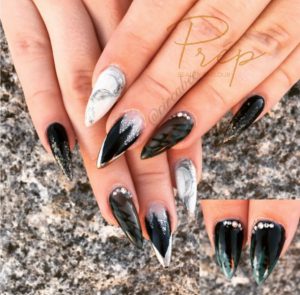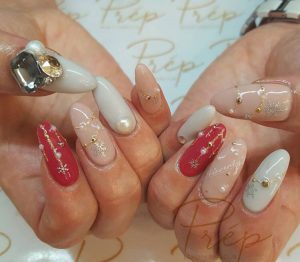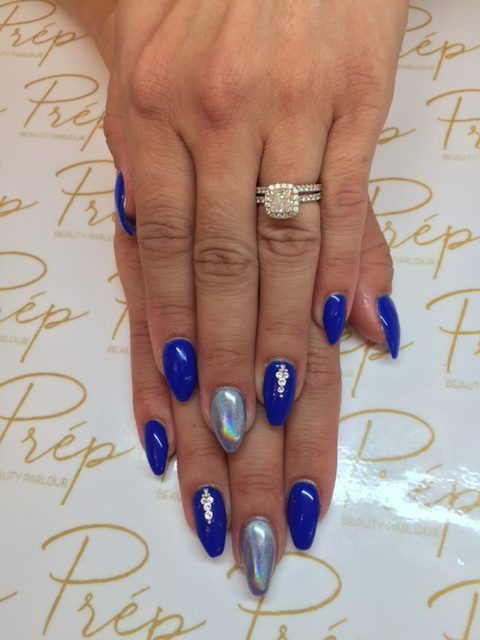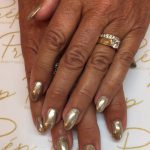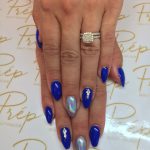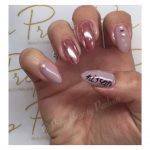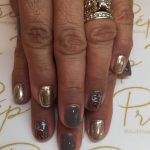
Since the dawn of literally FOREVER, Japan has been the hotspot and leader in fashion, hairstyle, and our personal favourite, NAIL ART!
Often cute and quirky, Japanese nail art is unique and fun to have on your nails. Styles often use geometric patterns, negative space, stickers, or hand drawn art. Eccentric nail art is a MUST-HAVE fashion accessory to amp up your next gel manicure appointment!
No time to drop in for your gel mani? Not to fret! We have the perfect idea to bring the art to you! Below we will be showing you how to recreate the design as listed above!
Prép Beauty Parlour is home to many talented and creative nail technicians (as well a lash techs and make-up artists of course!), and today our very own nail technician Kiyomi will be recreating a cute style of nail art!
Kiyomi is a nail technician who studied Japanese nail art in well– Japan! She is always full of creative ideas and we are more than happy to have the trends in Japan be brought into our very own salon!
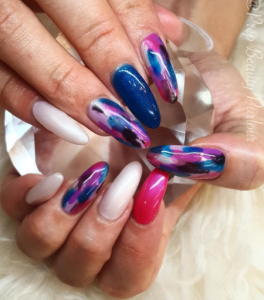
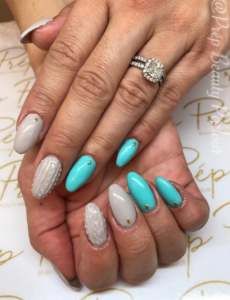
This will be the nail art look that we are recreating! Let’s Begin!
Difficulty Level: ♥♥♡♡♡
Materials:
♥Nail Brushes
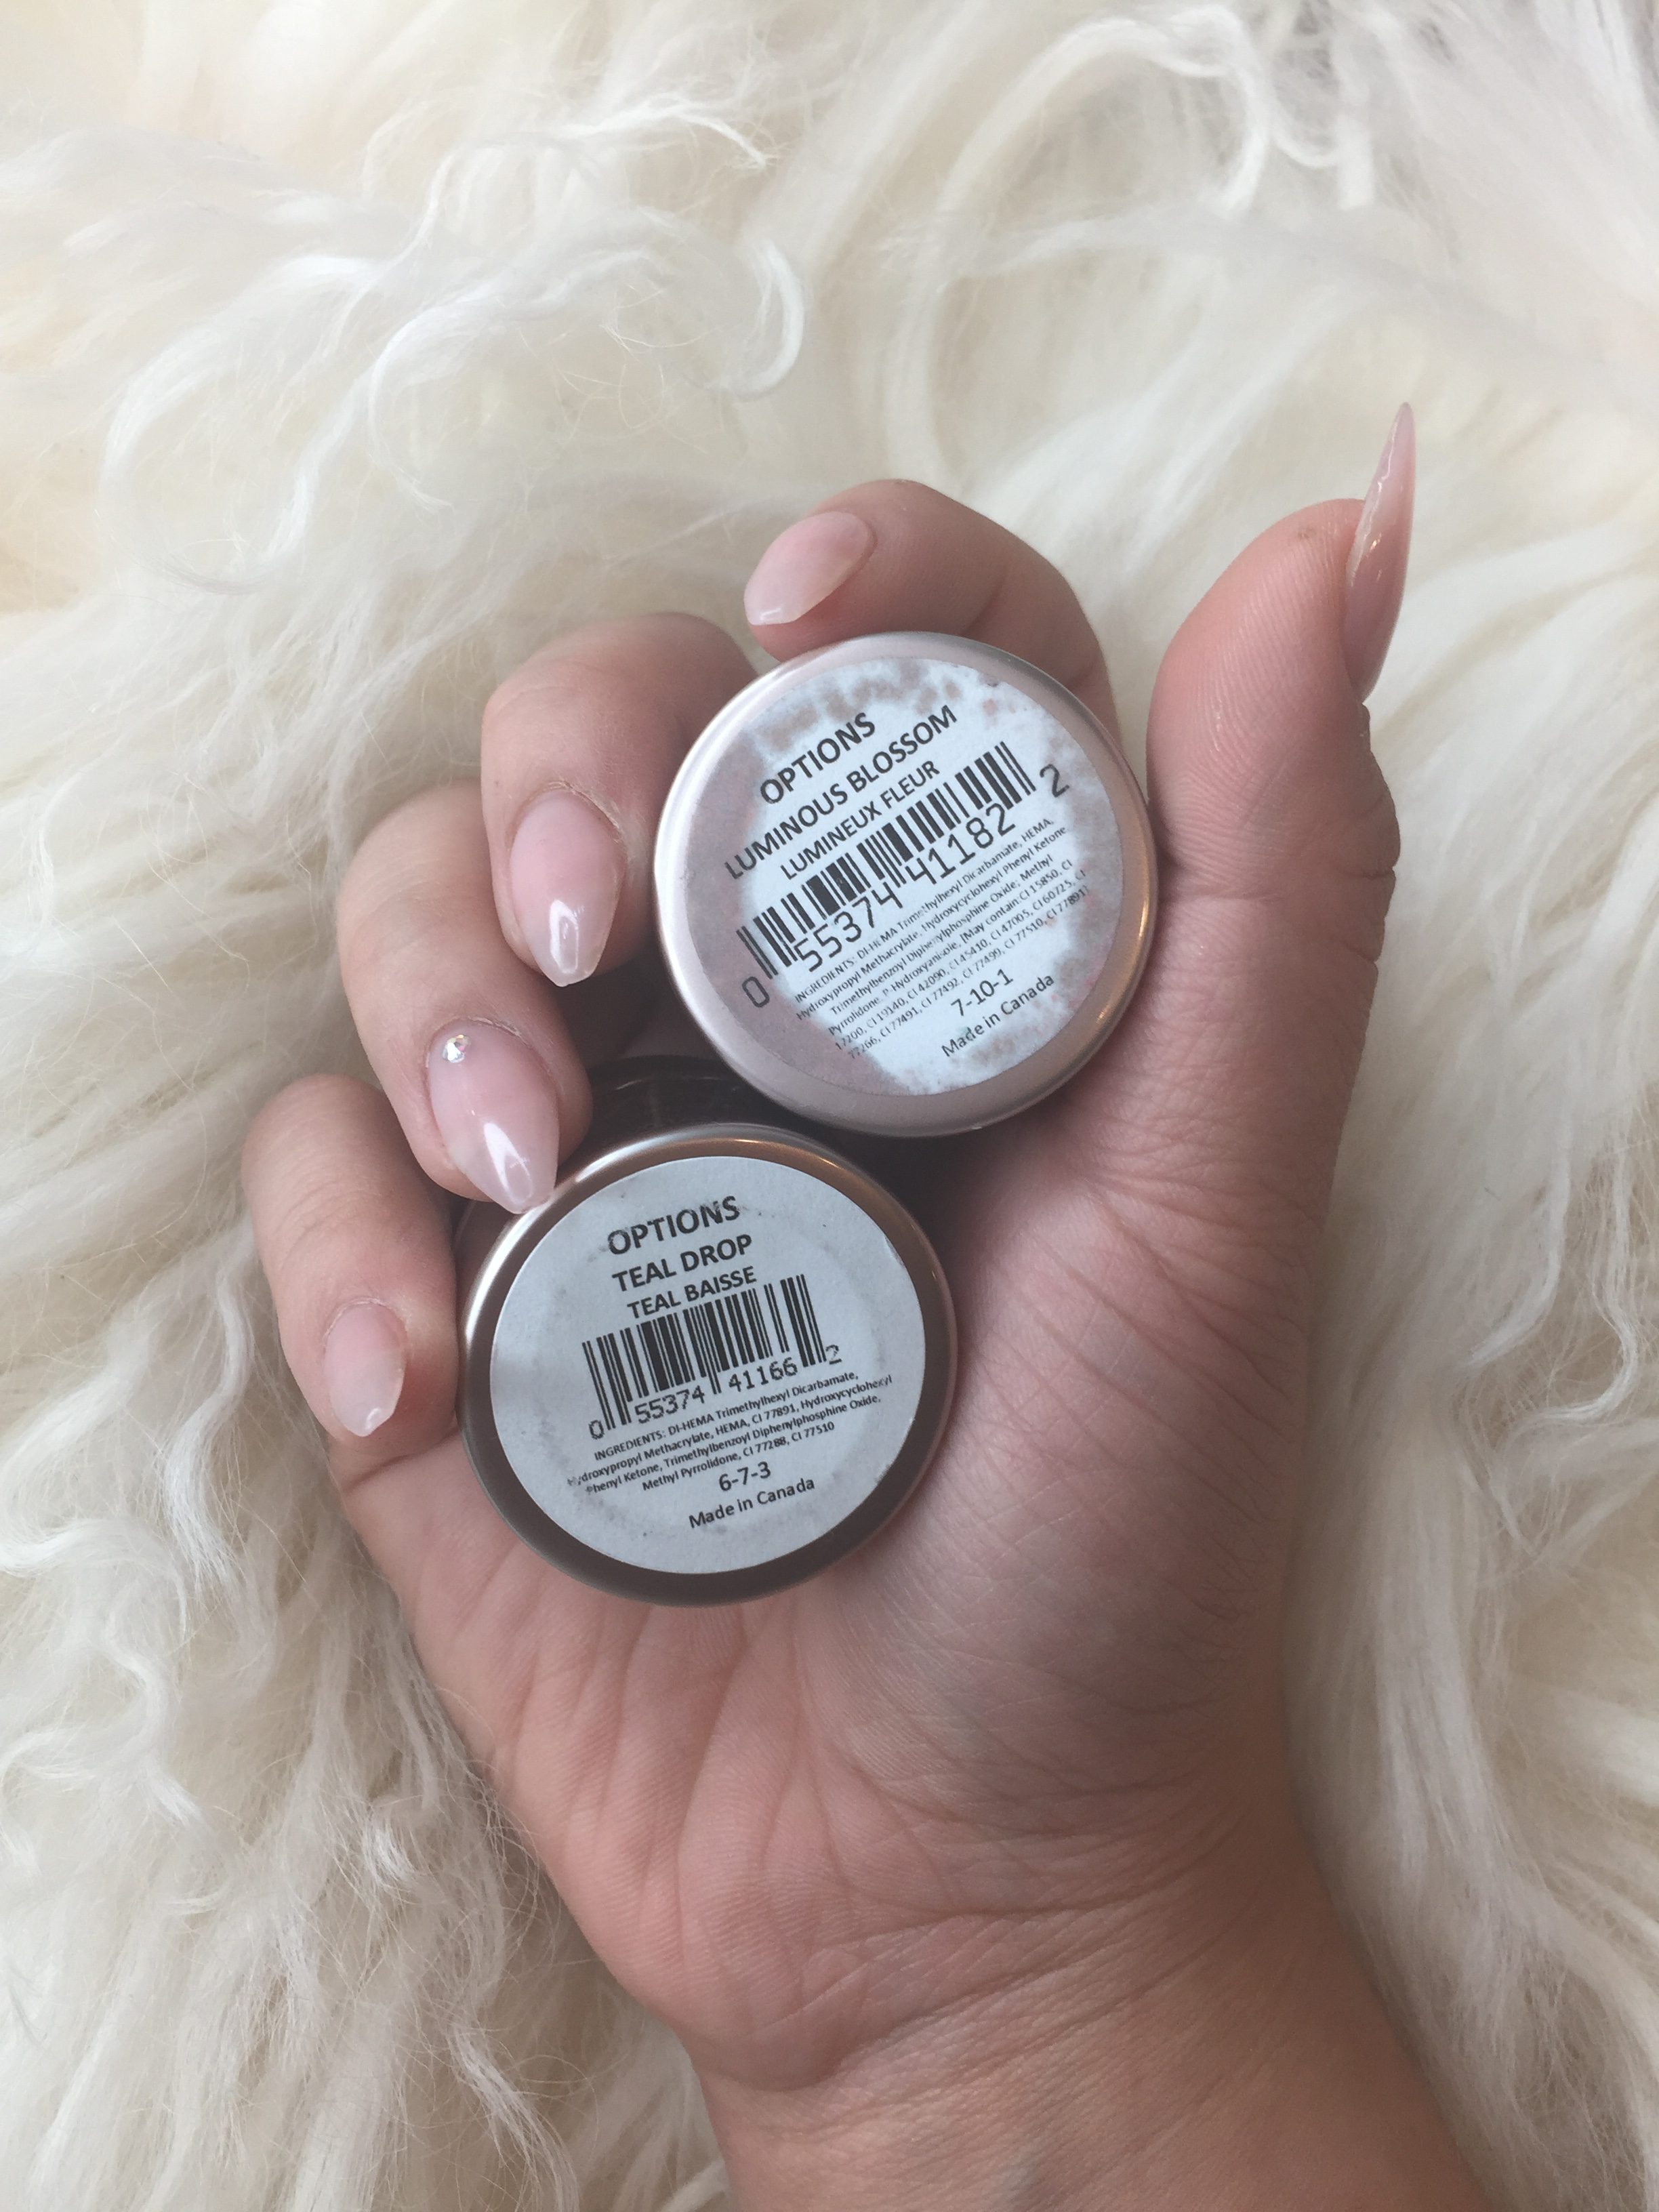
♥OPTIONS colour in LUMINOUS BLOSSOM
♥OPTIONS colour in TEAL DROP
♥Top & Base hard gel (or polish!) Ours is from Azkentz
♥ OPTIONAL: White gel colour
Step 1: Prép your nail!
Step 2: Base coat of hard gel!
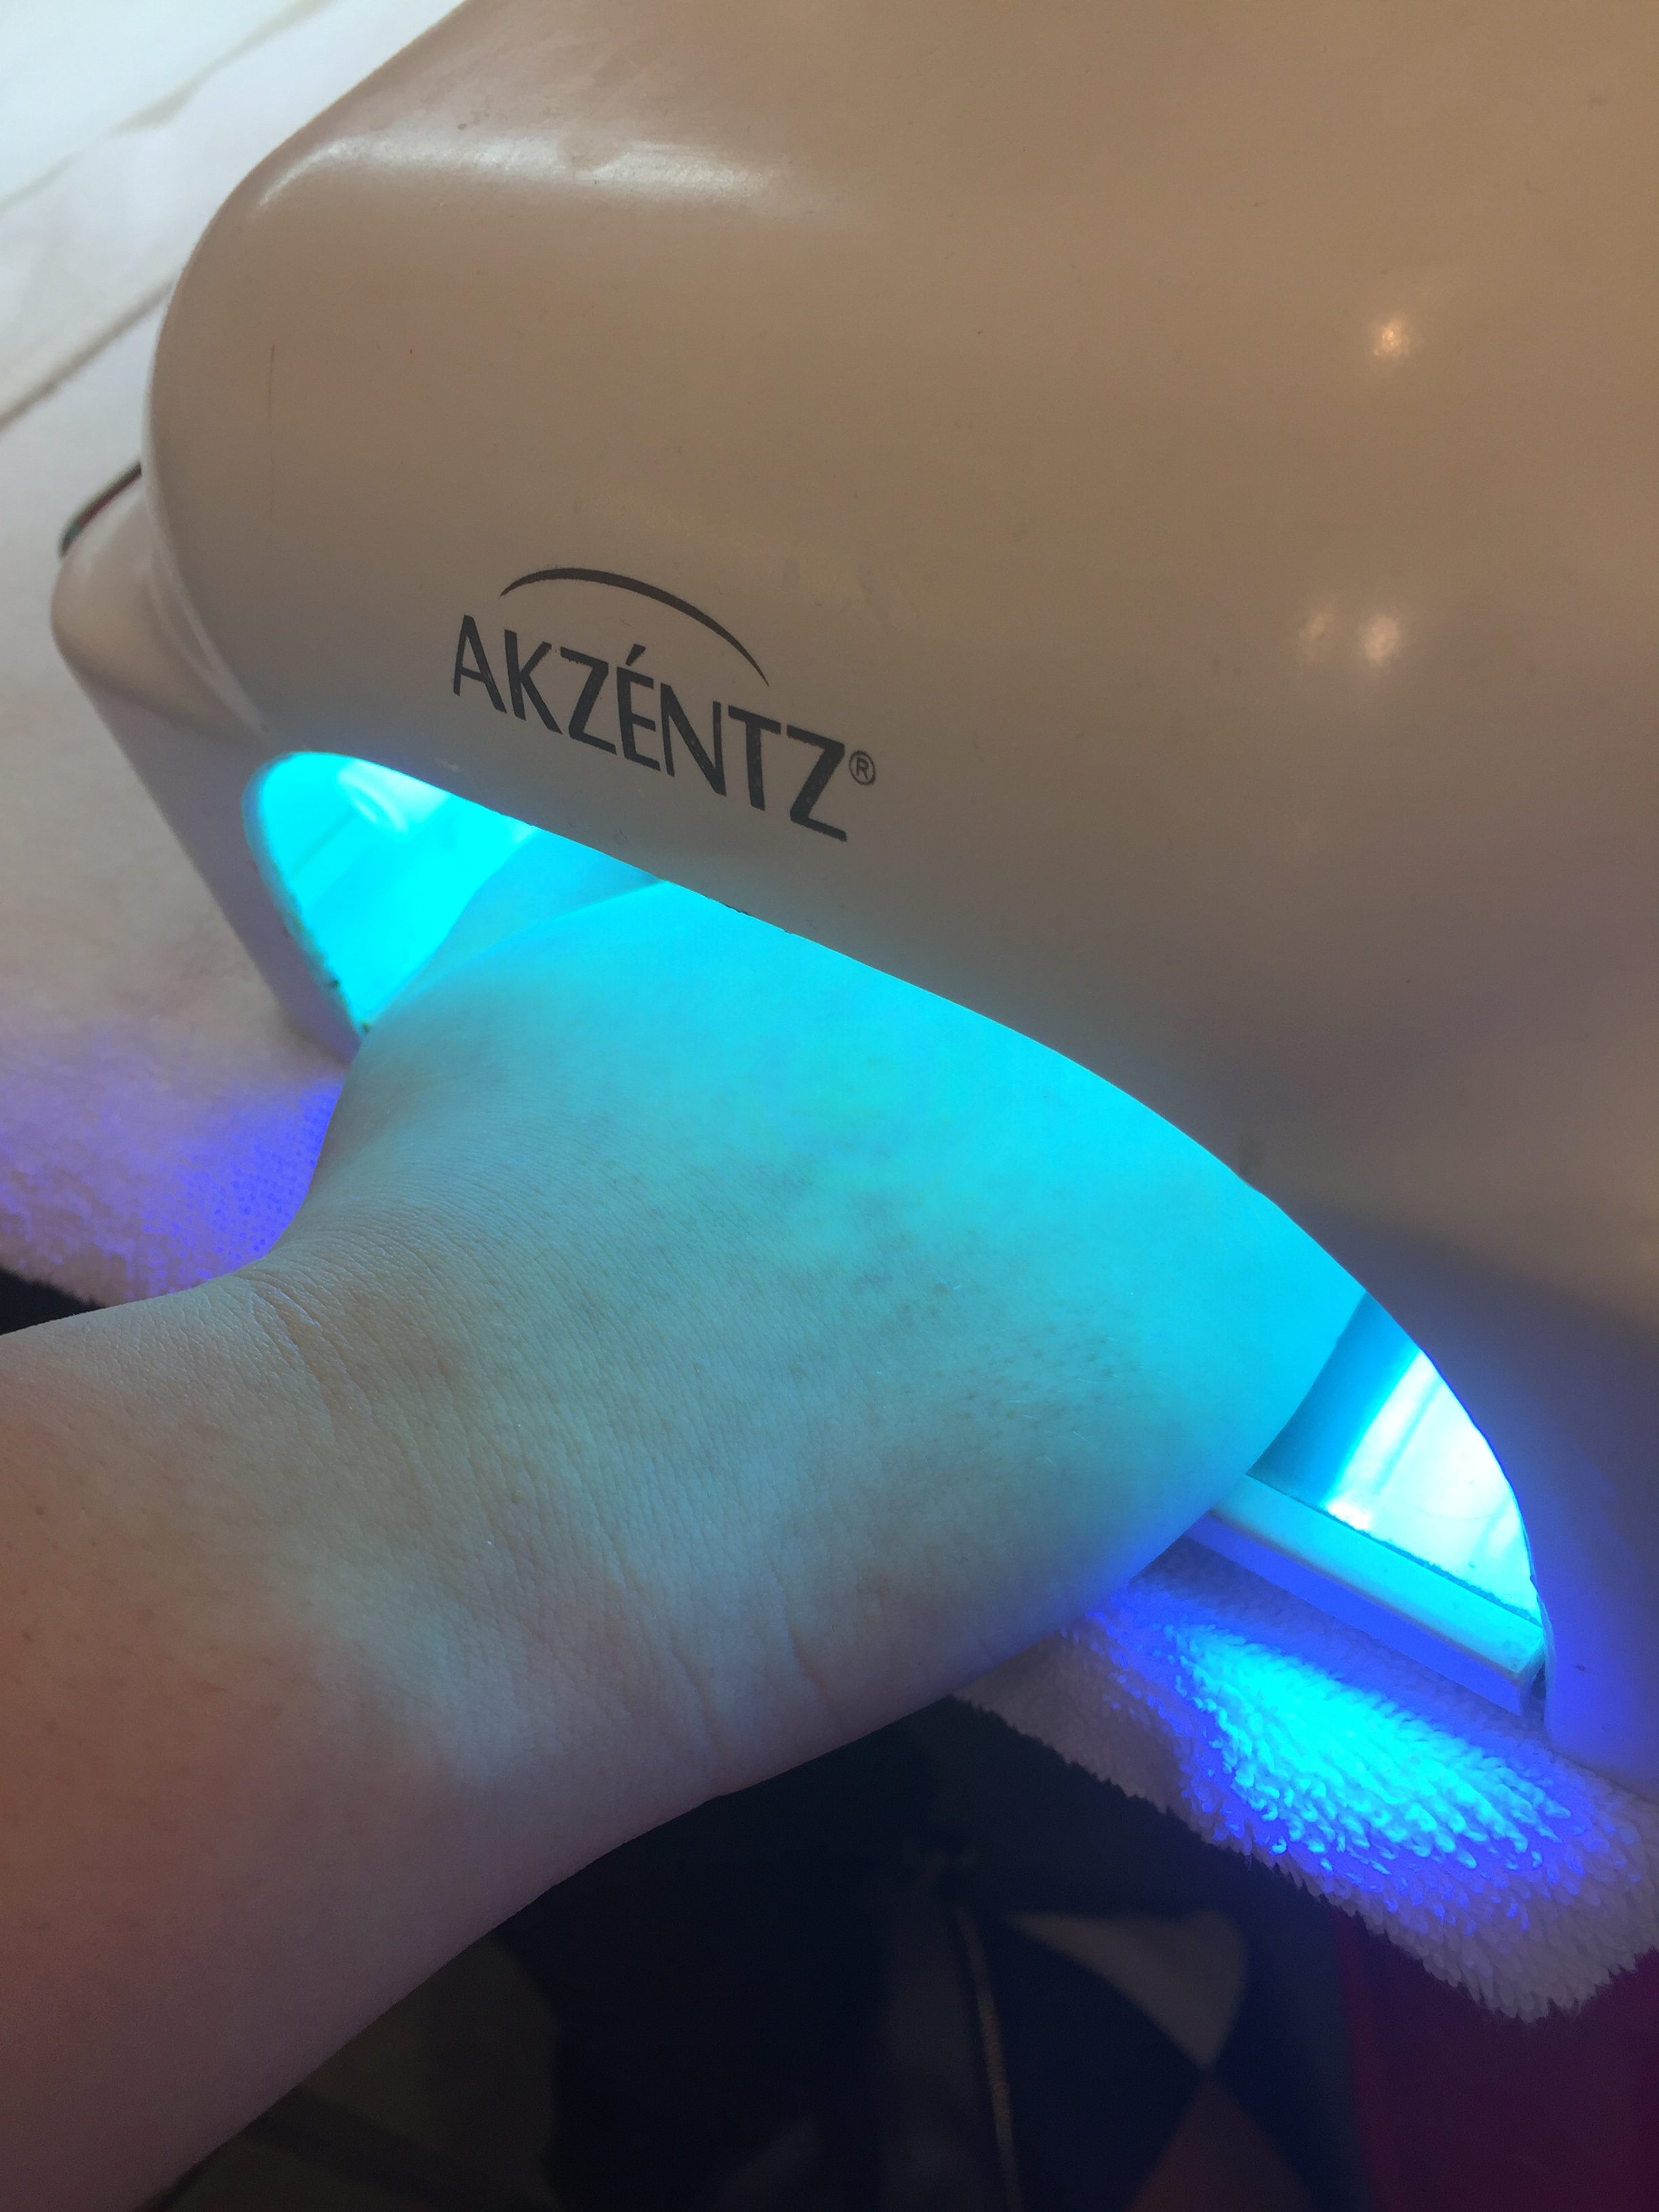
Step 3: Remember to cure your nils in a UV/LED light after each coat or layer!
Step 4: Mix and apply Luminous Blossom to the ring and pinky fingers!
Step 5: Mix and apply Teal Drop to the pointer and thumb
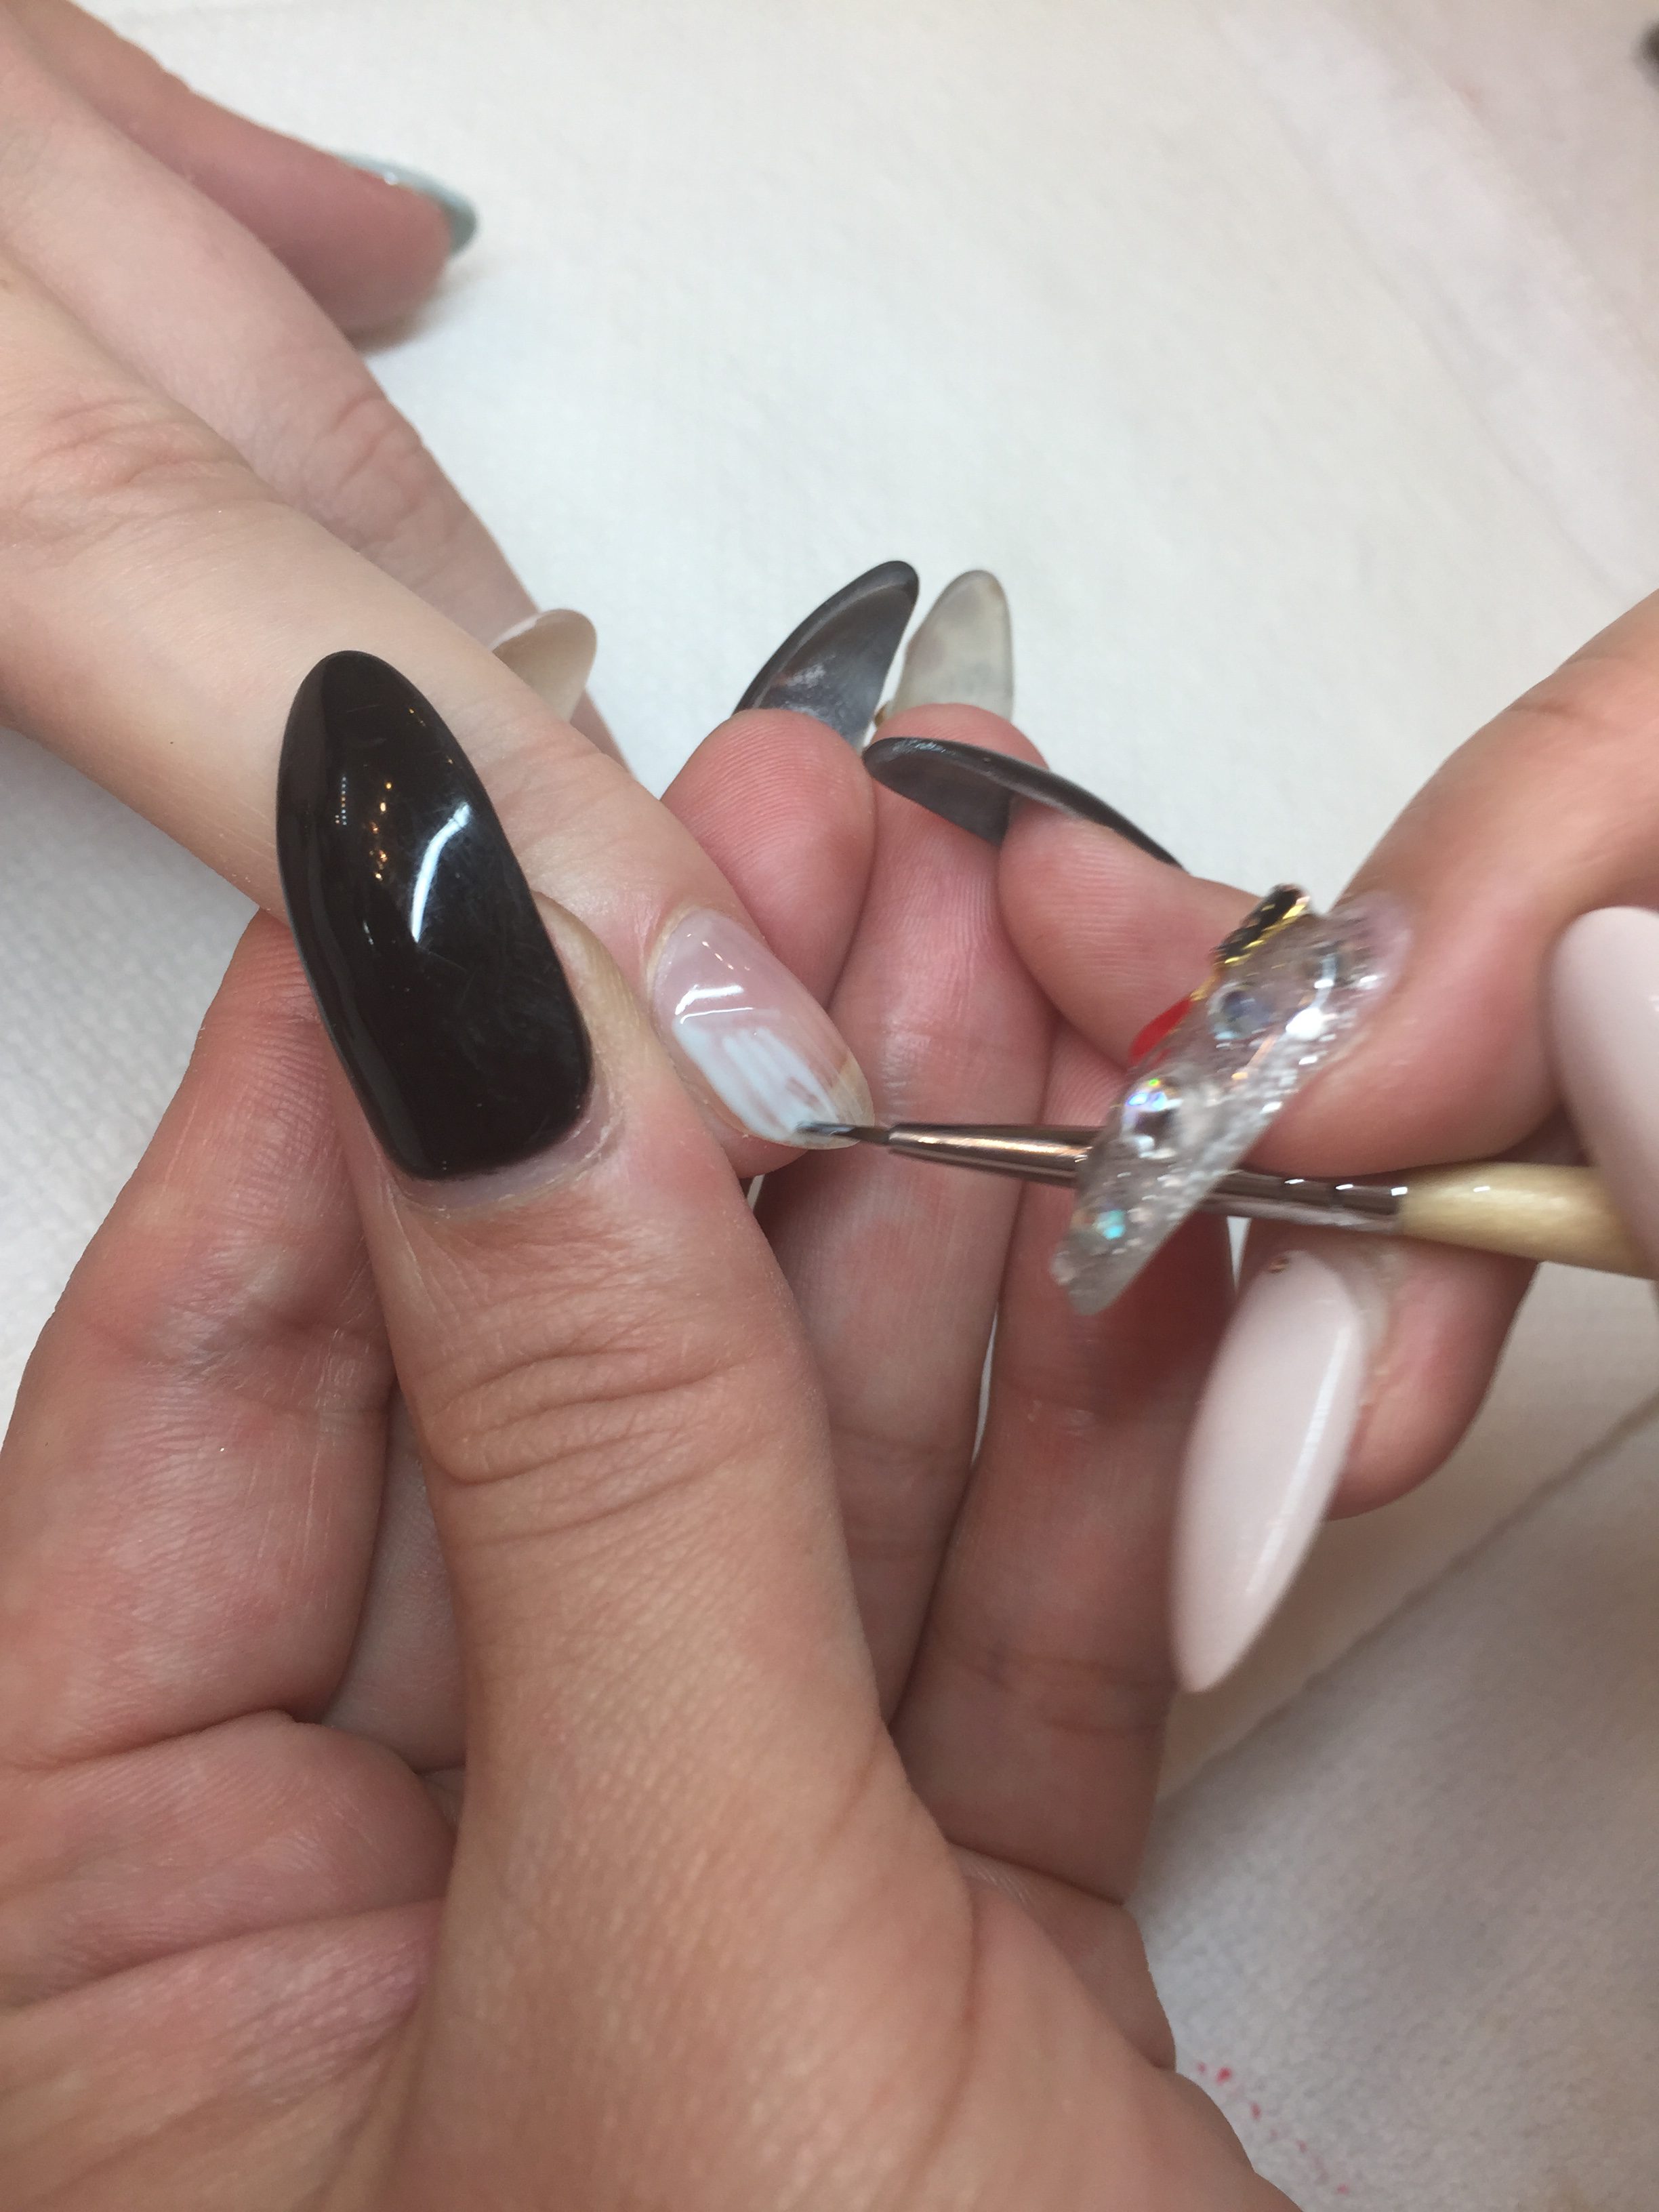
Step 6: Using Teal Drop, carefully carve out the outline design as shown below on the . 


Step 7: Fill in the outline to darken up the colour and increase it’s opacity.
Step 8: On the same fingers, carve the outline as you did with TEAL DROP but use LUMINOUS BLOSSOM on opposing sides like so..REMEMBER TO CURE BETWEEN EACH LAYER!
Step 9: Take a thicker and denser brush (like the one we use for our eyebrows, ladies!) And darken TEAL DROP and LUMINOUS BLOSSOM again- REMEMBER TO CURE BETWEEN EACH LAYER!
Step 10: We decided to add a little bit of line art to finish up the look, first, draw a triangle at the base, followed by a straight line.
Step 11: Apply a shine or matte top coat if desired!
Step 12: Using rubbing alcohol on a lint-free pad, wipe off the inhibition layer.
Step 13: Clean up any edges, file the shape a little to fit to perfection!
Finished! Now you can flaunt your cute DIY nails! We’re in love! Stay tuned for more future DIYS!
Be sure to tag us if you followed this DIY as we would LOVE to see your take on it!
Check out our Instagram by clicking HERE.
♥
Prép Beauty Parlour is located at 1054 Hornby Street in beautiful downtown Vancouver, British Columbia. We specialize in nails, eyelash extensions, waxing, massages, facials, event/bridal hair & makeup. We’d love to hear from you! Email inquiries to [email protected]. Call us at 604-764-6452. Check out our 5 Star Yelp page here! Don’t forget to follow and like our Instagram and Facebook pages! https://www.facebook.com/prepbeautyparlour


