Hello and welcome back to the Prép blog! If you enjoyed last week’s Japan to Vancouver nail art series, then we got news for you! We are back again this week to showcase another DIY nail art that you can do at home! At Prép we understand how busy all you ladies and gents are, and sometimes, there simply just ISN’T enough time to make the trip to the nail studio- but that’s totally okay! That’s what we’re here for today!
Today’s nail art features uses of our favourite– bling, our take at the famous ‘Hokuri’ nail trend, and the ever so popular Instagram baddie pattern of camouflage styles! It’s a soft combination of traditional soft Japanese nail art watercolour art (Hokuri) and the camo- military style.
Hokuri is a type of Japanese nail art that often uses sponges or other tools to imitate a jelly, dream like essence. It’s a perfect way to up your nail game while still being subtle (for those busy bees at work 😉 !!) Many nail technician will use a mixture of acrylic paints, but today we will show you a quicker way to create this beautiful art using gel polishes you already have!
To learn more on how to recreate this cute yet daunting look, keep reading!
Difficulty Level: ♥♥♥♡♡
Materials:
♥Nail Brushes
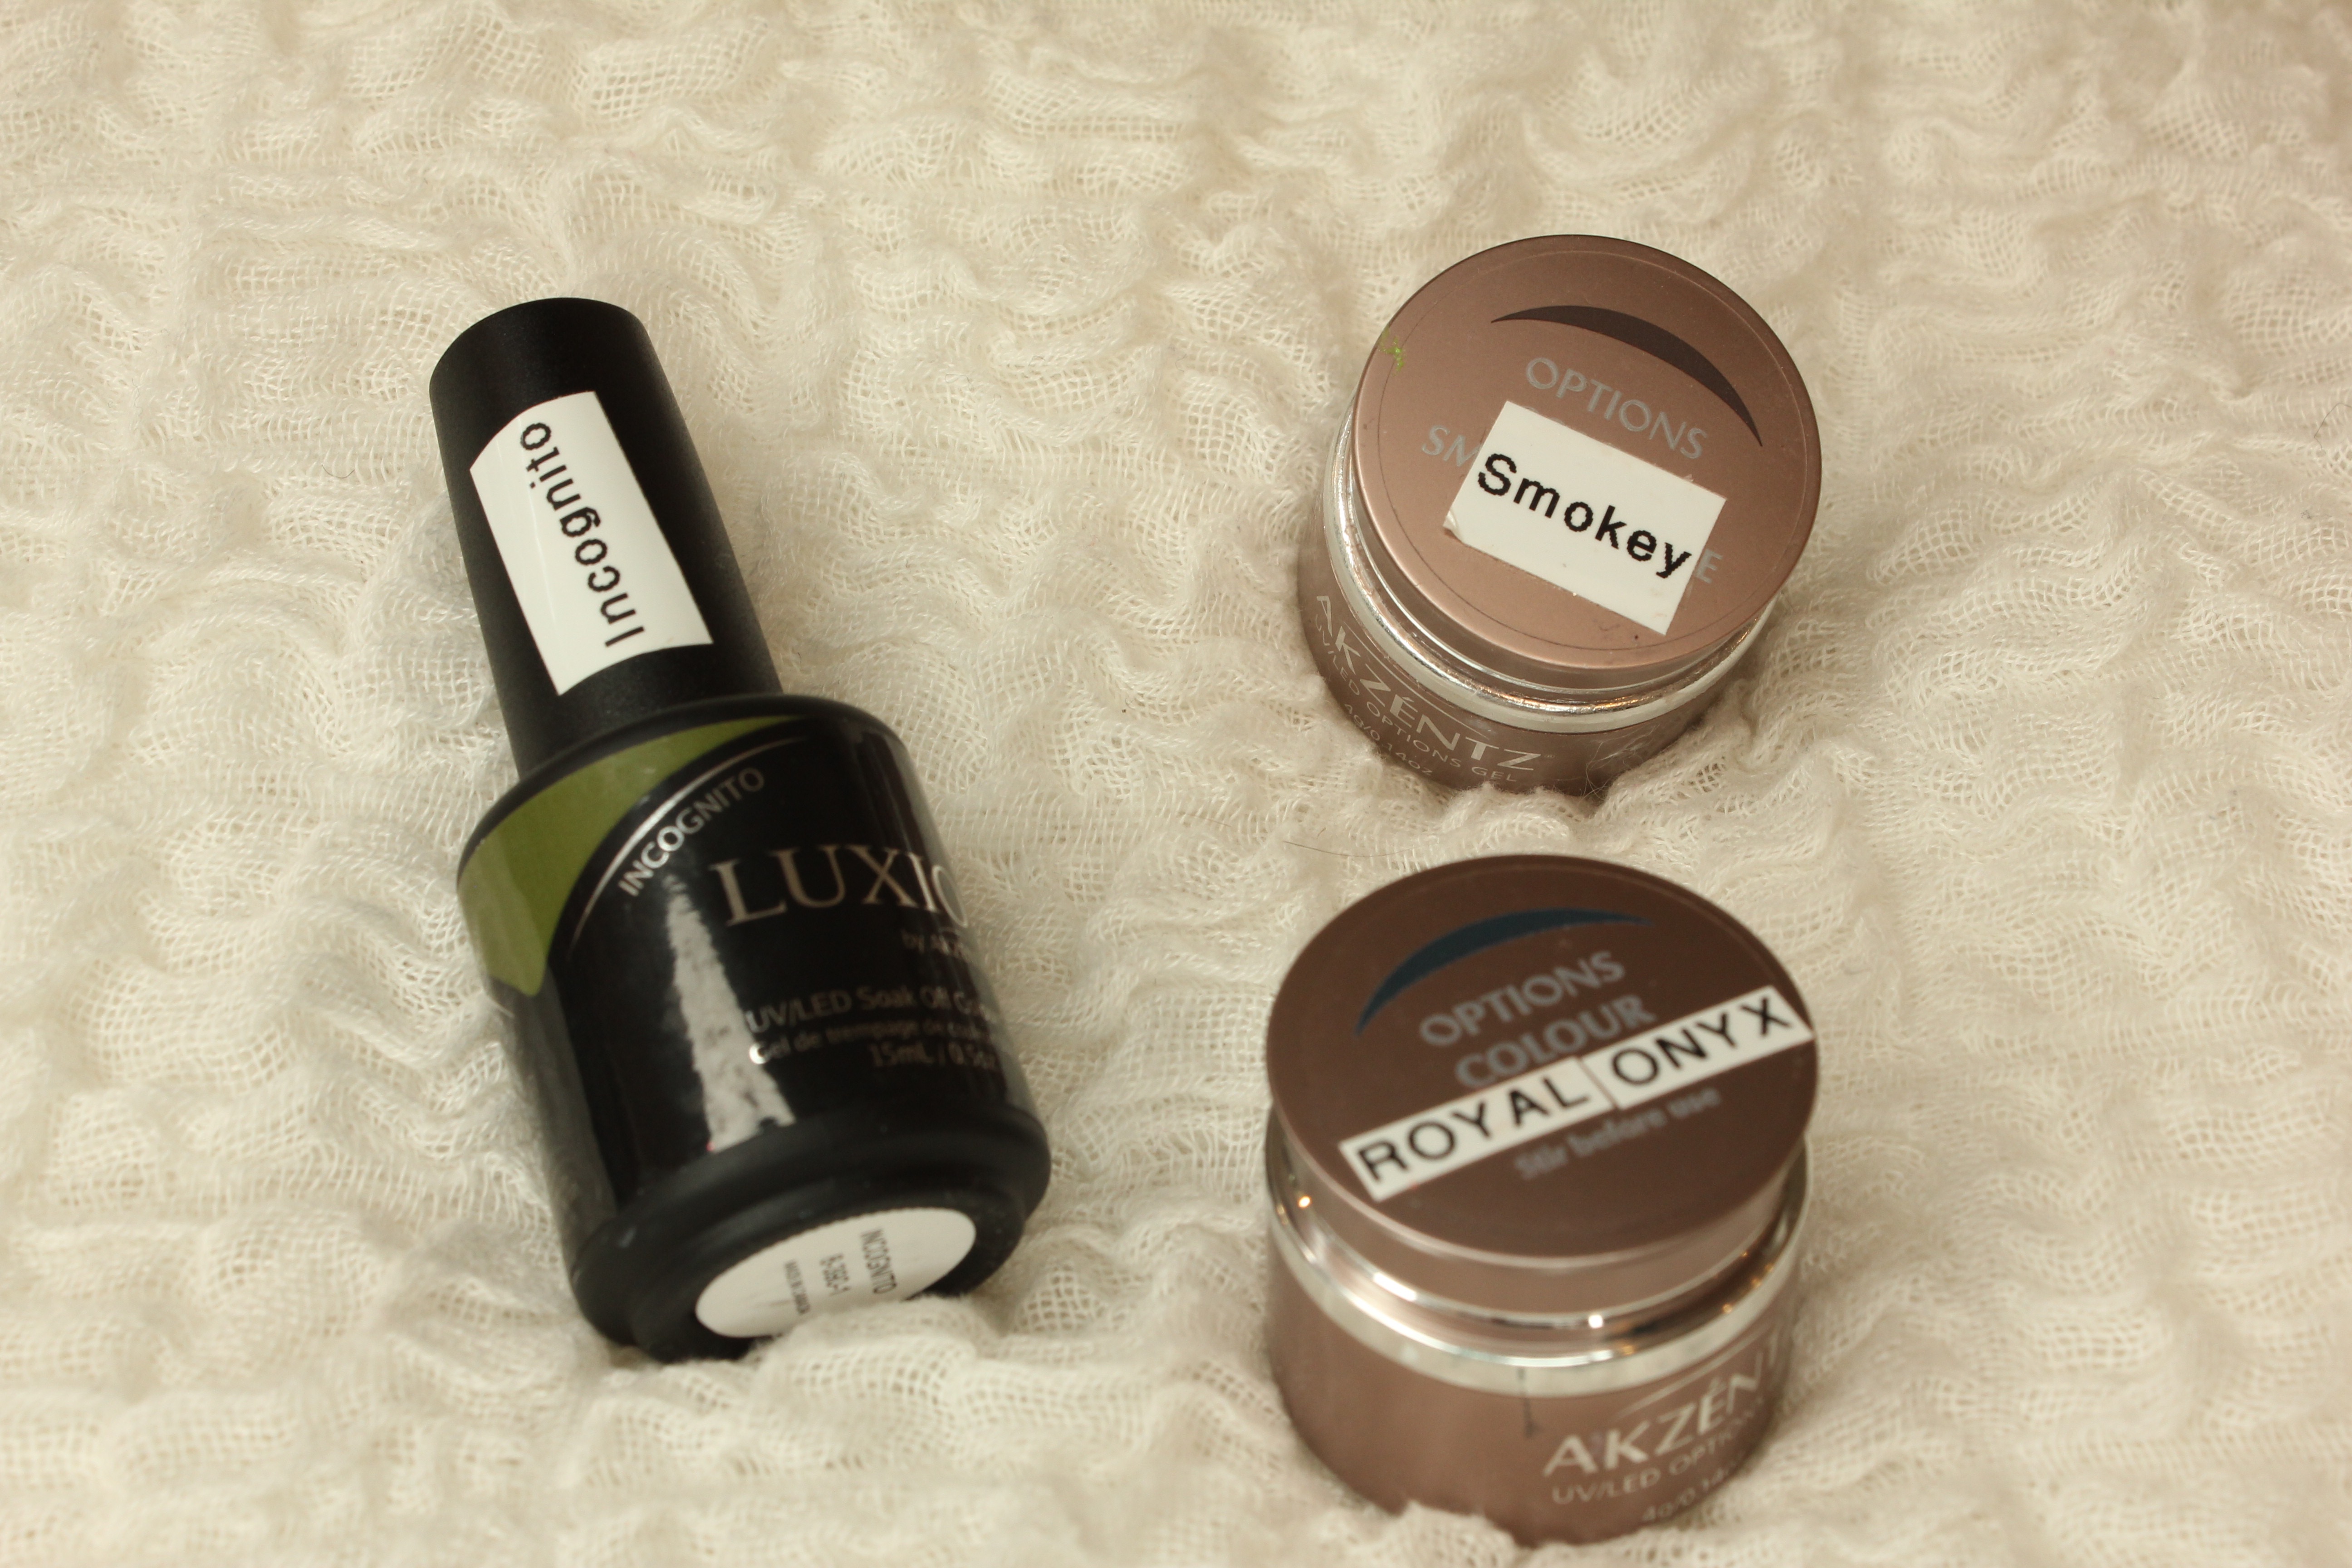
♥LUXIO colour in Incognito
♥OPTIONS colour in SMOKEY
♥OPTIONS colour in ROYAL ONYX
♥Bling or gems
♥Nail decals
♥Top & Base hard gel (or polish!) Ours is from Azkentz
Let’s Begin!
Step 1: As always, we want to prep the cuticle and surface of the nail before moving onto adding any gel polishes to ensure the life of the gel mani. Remember ladies- Dry cuticles mean gel polishes won’t stay on!
Step 2: Just like how we begin any other nail tutorial, apply the base coat to your nails first!
Step 3: We then painted all of the nails in the colour SMOKEY as the ‘base’ colour
Step 4: We cannot stress this enough!! Cure your nails in a UV/LED Lamp after each coat and layer to ensure the nail is fully ‘dry’, and thus will not be bumpy or squishy!
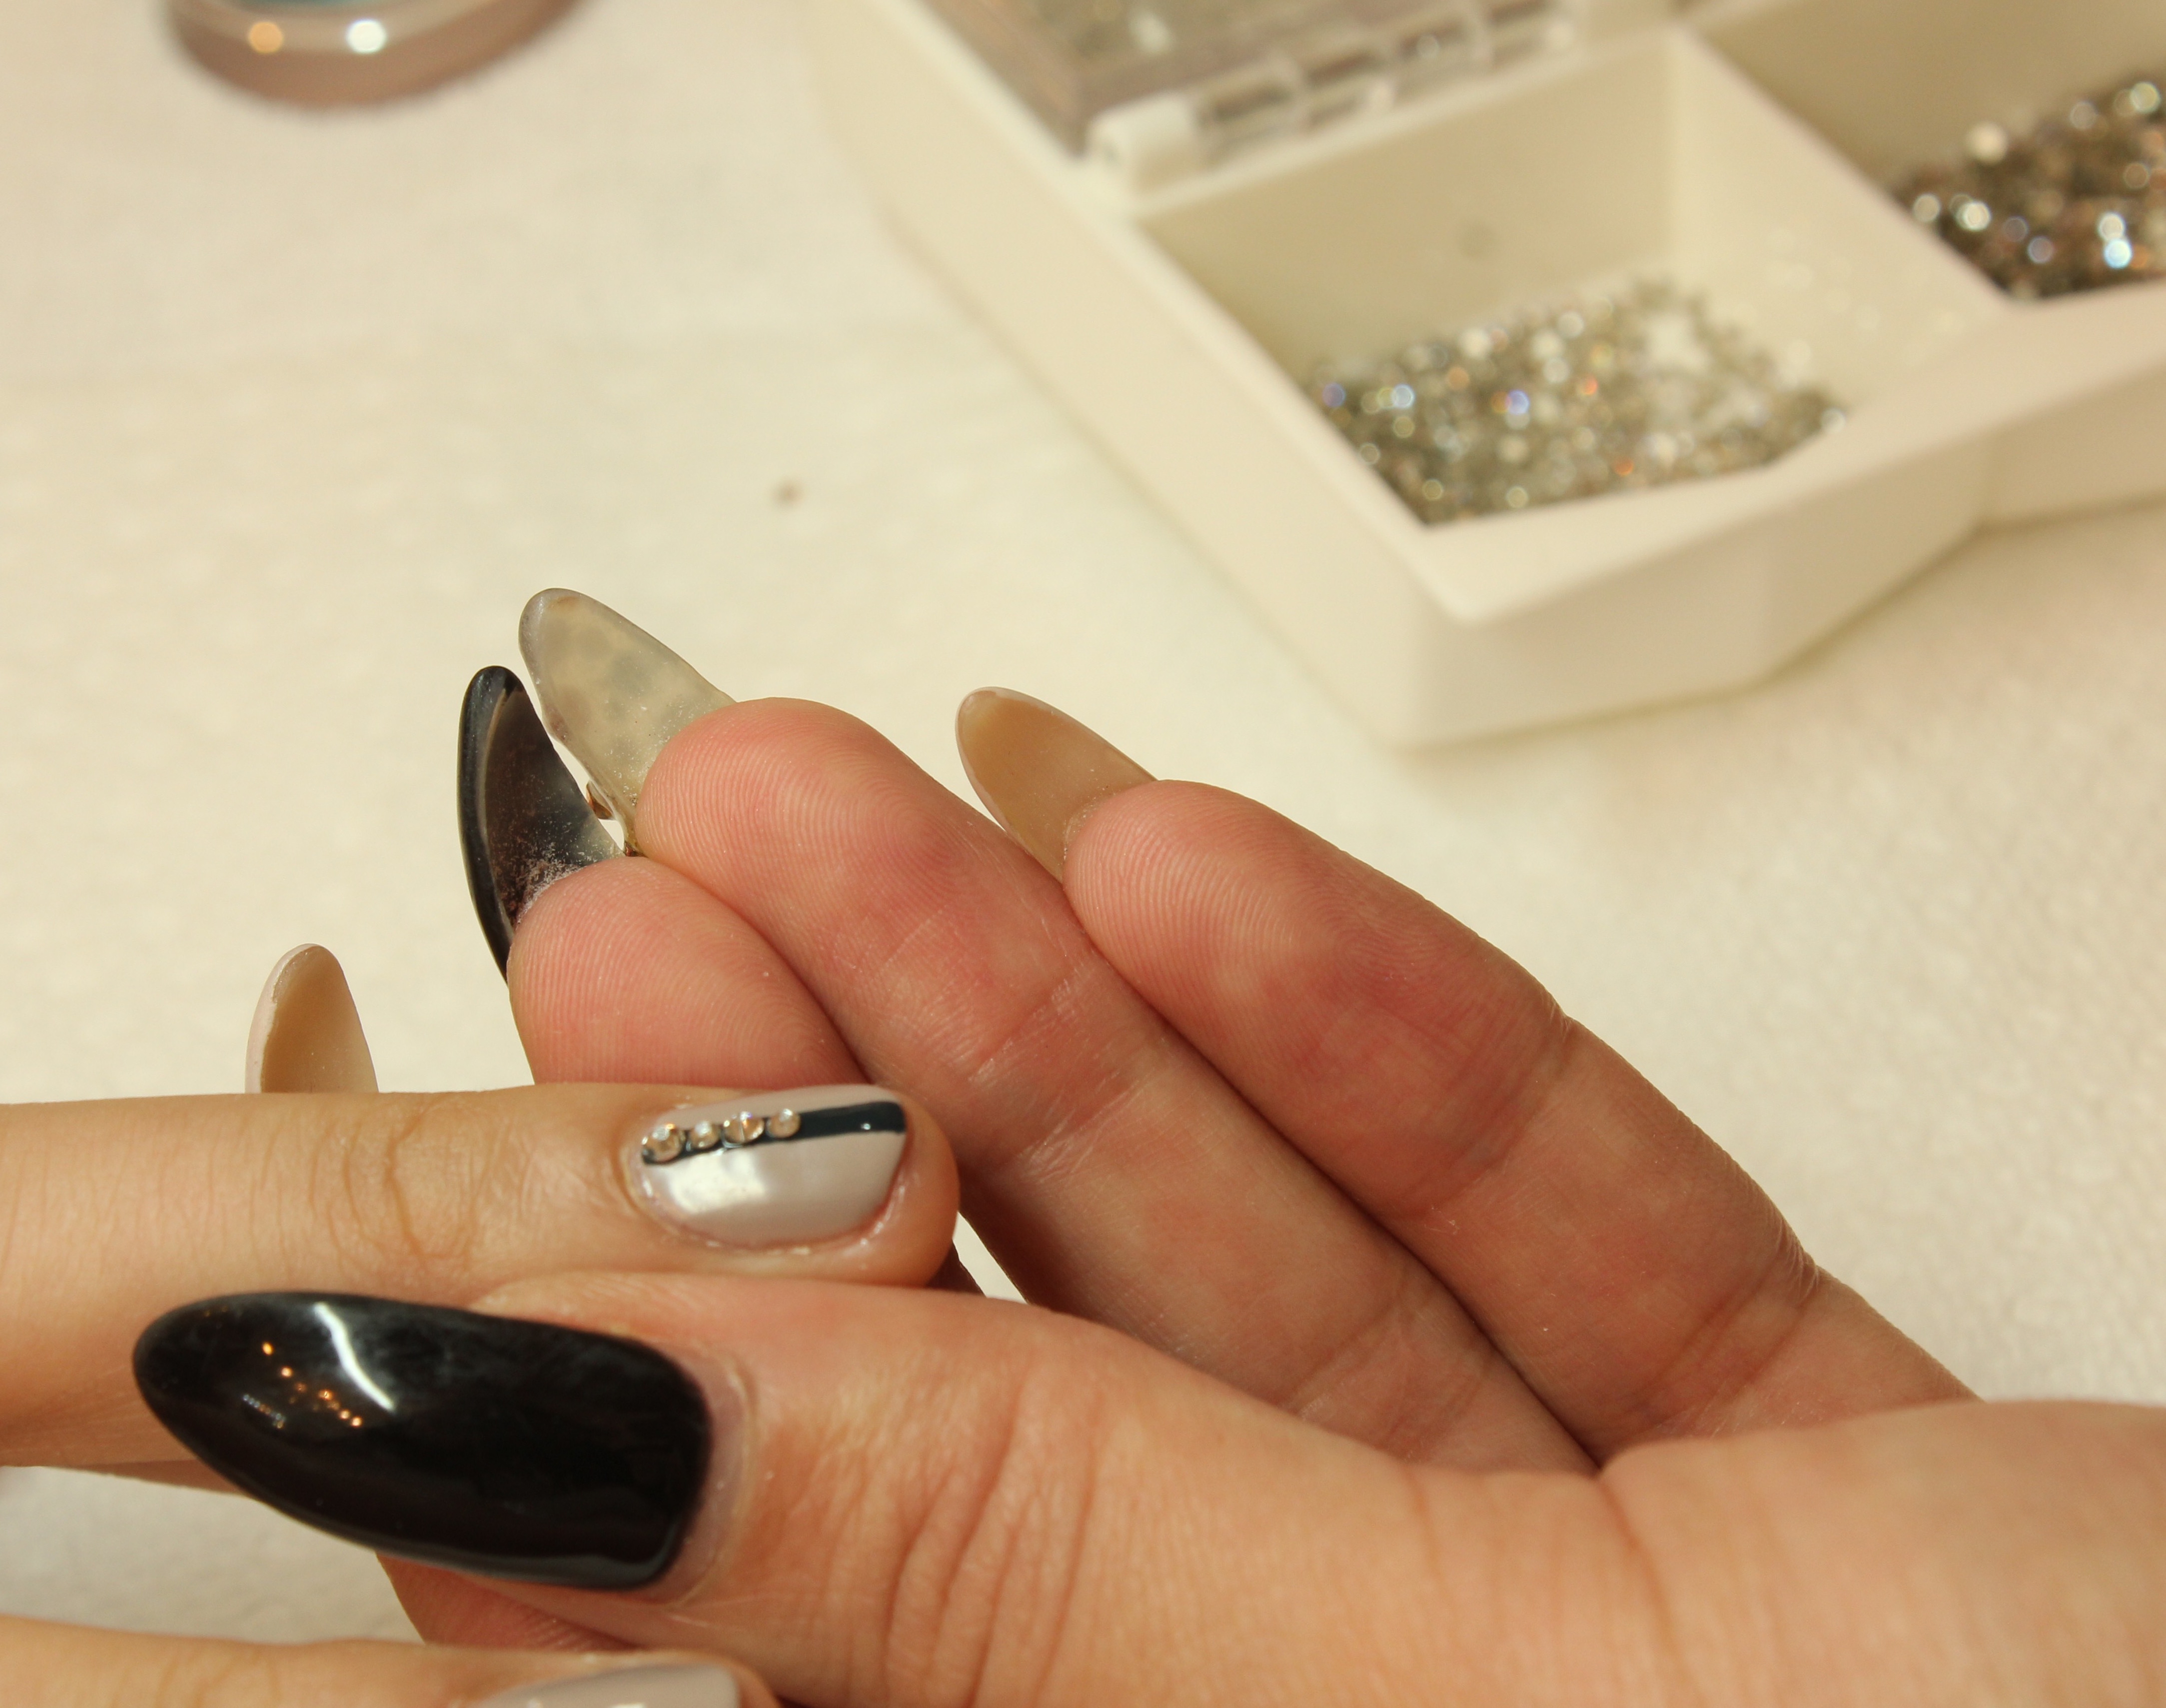
Step 5 & 6 : Paint a line down the centre of your middle finger as well as the thumb on the other hand (that doesn’t already have the line), using ROYAL ONYX. CURE IT! Then add another clear coat and BEFORE you cure it, add some of the smallest gems/bling you own along the line. And then cure it!
~ We also used a pick tool to move the gems onto ROYAL ONYX to ensure they are lined up to perfection!
Step 7: Taking ROYAL ONYX with a small precision brush, draw small strokes onto your ring and thumb as well as pointer and ring on the other hand. Kiyomi shows us how to draw a desired style down below!
Step 8: Taking a clear hard gel (remember to wipe off your brush!), lightly ‘swirl’ the colour and blend it as shown below:
Step 9: Taking INCOGNITO, swirl the colours to create a more dimension as shown like so:
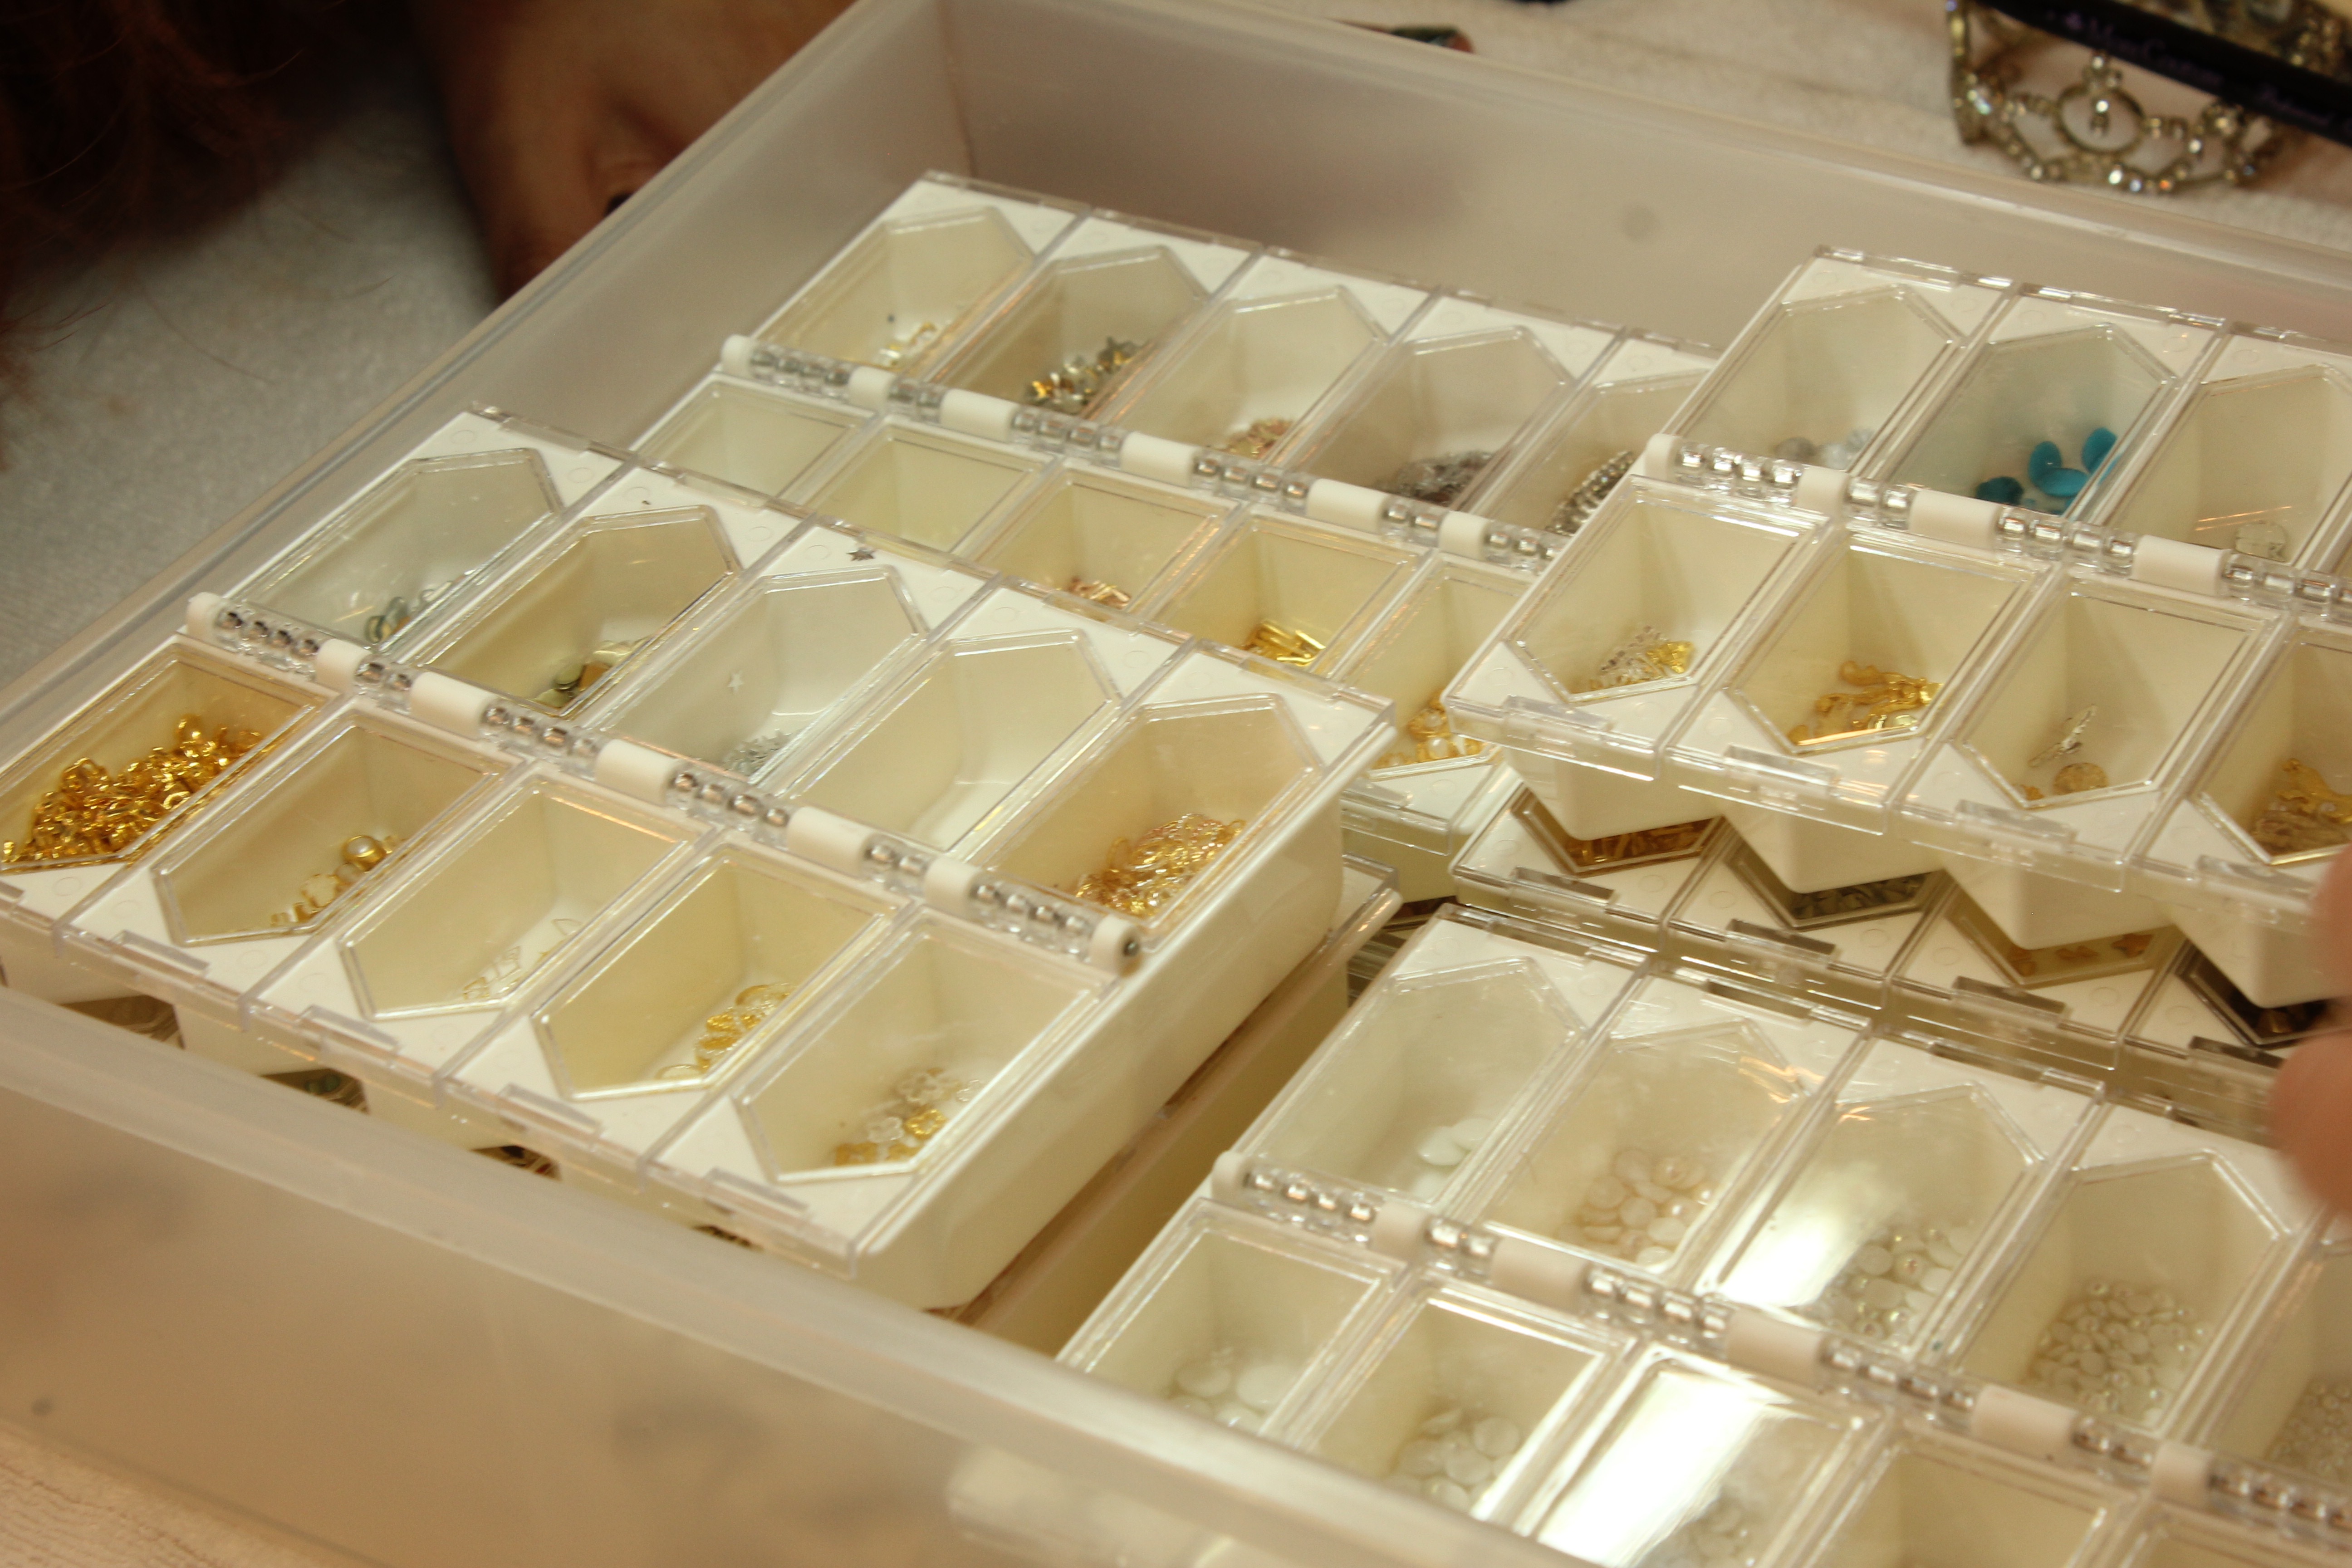
Nail Decal time! At Prép, we love to experiment with tons of new designs and shapes! Check out a sneak peek of our collection below:
Step 10: We decided to add a simple Crown to one of the plain SMOKEY fingers, as well as a delicate V piece:
There it is folks! Our recreation of a nail design, as well as one of the ways we like to present the Hokuri nail art!
Be sure to tag us on Instagram (click HERE), and Twitter (click HERE), to showcase your own variations of this adorable mani!
♡♡♡
Prép Beauty Parlour is located at 1054 Hornby Street in beautiful downtown Vancouver, British Columbia. We specialize in nails, eyelash extensions, waxing, massages, facials, event/bridal hair & makeup. We’d love to hear from you! Email inquiries to [email protected]. Call us at 604-764-6452. Check out our 5 Star Yelp page here! Don’t forget to follow and like our Instagram and Facebook pages! https://www.facebook.com/prepbeautyparlour


