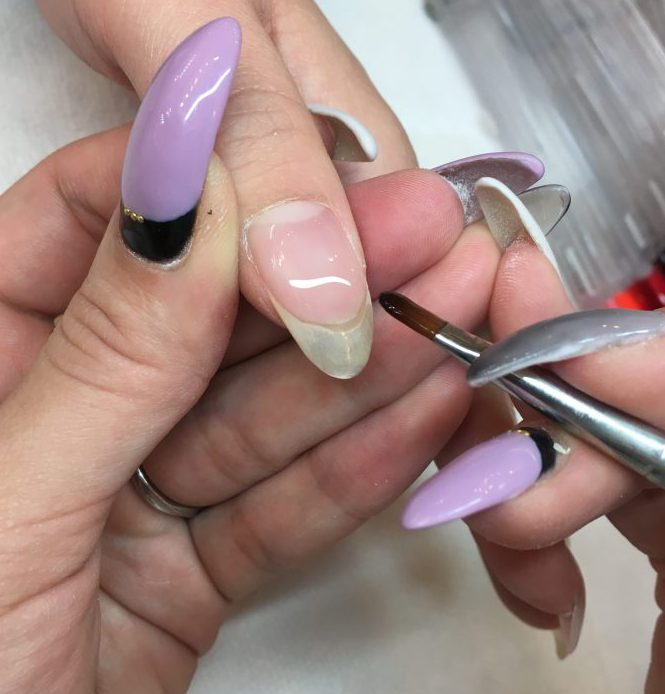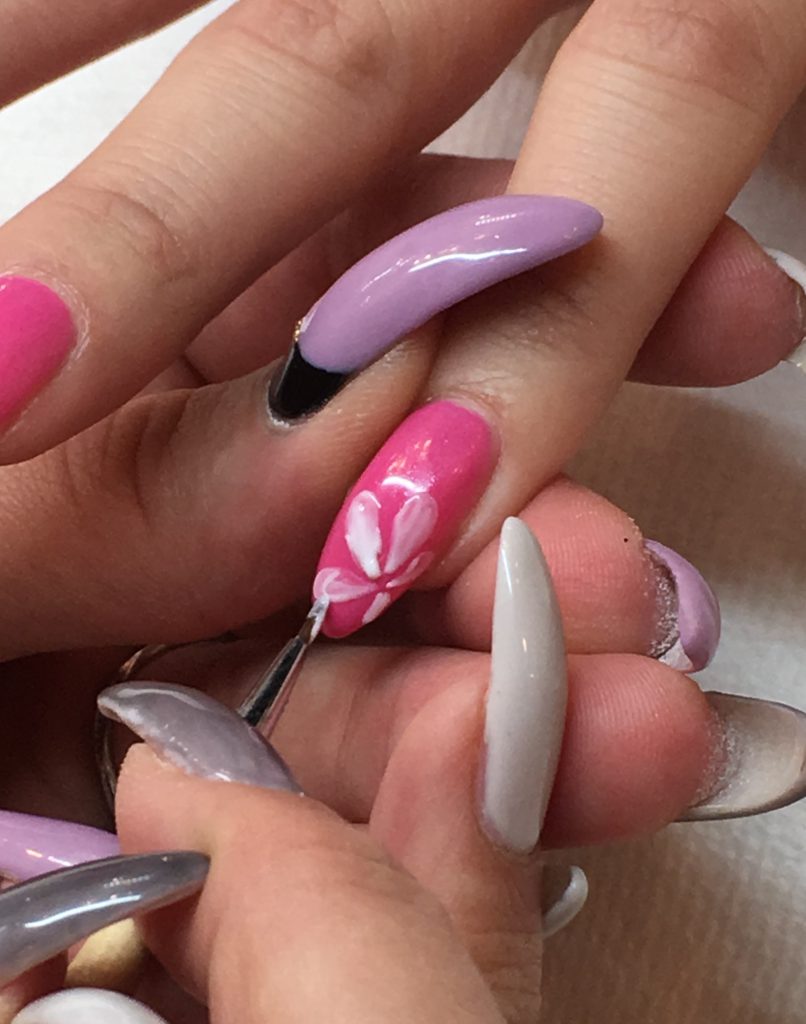
Hello! Welcome back to another DIY Nail art series! Today’s nail tutorial does require previous experience in nail design and may be difficult for beginners. We will be using a variety of brushes and colours in order to achieve this look. The gold and the pink make for a perfect match and the delicate floral design is the most stylish way to say good-bye to Winter, and hello to Spring and Summer!
This tutorial will be guided by Prép Nail Technician Kiyomi as she demonstrates how to achieve such delicate flowers! Often times, these flowers will be drawn by acrylic as it is easier to handle the brush and it’s simple ‘press’ to mould style. Do not fret! Prép is here to guide you through this cute nail art!
This set of nails is done on gel extensions! Our Prép Nail Technicians apply a nail form to your nail and carefully build the nail using sculptured gel to ensure the nail is suitable for your nail shape and curve.
Let’s begin!
~
Difficulty Level: ♥♥♥♥♡
Materials:
♥Nail Brushes
♥OPTIONS colour in SIMPLY PINK
♥OPTIONS colour in GOLDEN TWILIGHT
♥Top & Base hard gel (or polish!) Ours is from Azkentz
♥ OPTIONAL: White gel colour
STEP 1: As always, prép your nail bed properly and apply your desired top coat!
STEP 2- We then applied GOLDEN TWILIGHT to some of the fingers, index and ring finger on one hand, and index and pinky on the other. However it is completely up to you! As GOLDEN TWILIGHT comes off sheer, you may want to apply several coats to achieve a more opaque look.
STEP 3- We then applied SIMPLY PINK to the rest of the fingers. If you prefer a lighter pink, that would look adorable as well! However, this bright pink is super bold and is adorable for the spring time.
STEP 4- Remember ladies!! To cure your nails between every coat and layer to ensure they are fully dry and cured!
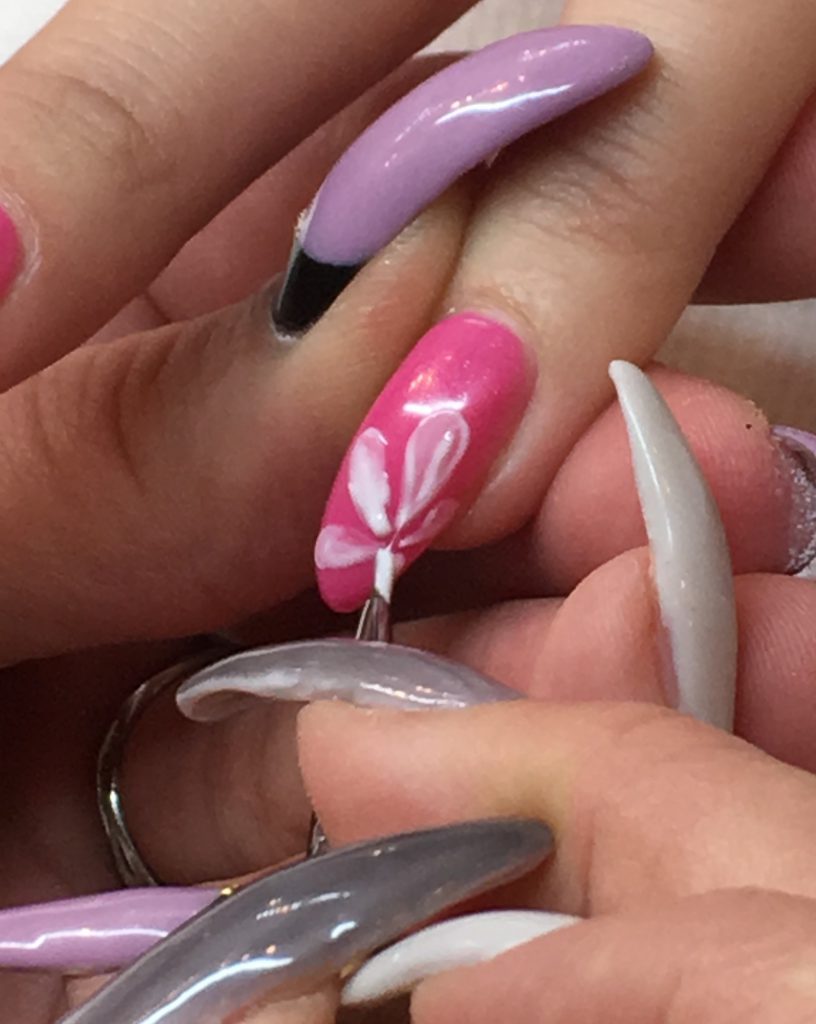
STEP 4- Cure that pink and then we will move onto the nail design! We start off the art by simply drawing a stroke on the lashes. Applying the top with slightly more pressure to create the look of flower petals.
STEP 5- After a light layer of the petals have been painted on, go over the petals again to get the opaque and desired look.
STEP 6: After you’ve painted on the flowers, you can also add dots surrounding the nail just as we’ve done in the photos. Remember to cure between every layer!
STEP 7: When you are fully satisfied with your UBER chic nails, simply apply and cure your top coat, wipe your inhibition layer, and you are good to go!
Now you can flaunt your nails and wipe away all the winter blues that the heavy snowfall that Vancouver brought to Prép in January and February!
Be sure to tag us on Instagram (click HERE), and Twitter (click HERE), to showcase your own variations of this adorable mani!
♡♡♡
Prép Beauty Parlour is located at 1054 Hornby Street in beautiful downtown Vancouver, British Columbia. We specialize in nails, eyelash extensions, waxing, massages, facials, event/bridal hair & makeup. We’d love to hear from you! Email inquiries to [email protected]. Call us at 604-764-6452. Check out our 5 Star Yelp page here! Don’t forget to follow and like our Instagram and Facebook pages! https://www.facebook.com/prepbeautyparlour


